设置
添加用户帐户
| |
要在 Fedora Server 上添加用户帐户,请进行如下配置。
|
| [1] |
例如,添加 [fedora] 用户。 |
[root@localhost ~]# useradd fedora
[root@localhost ~]# passwd fedora
Changing password for user fedora.
New UNIX password:              # input any password you'd like to set
Retype new UNIX password:       # confirm
passwd: all authentication tokens updated successfully.
| [2] |
如果您想从上面添加的用户切换到 root 帐户,请使用 [su] 命令执行此操作。 |
localhost login: fedora         # login username
password:                       # input user password
[fedora@localhost ~]$ su -      # switch to root
Password:                       # input root password
[root@localhost ~]#             # just switched to root
| [3] |
如果你想限制用户运行 [su] 命令,配置如下。
在下面的示例中,只有 [wheel] 组中的用户可以运行 [su] 命令。 |
[root@localhost ~]# usermod -aG wheel fedora
[root@localhost ~]# vi /etc/pam.d/su
#%PAM-1.0
auth            sufficient      pam_rootok.so
# Uncomment the following line to implicitly trust users in the "wheel" group.
#auth           sufficient      pam_wheel.so trust use_uid
# Uncomment the following line to require a user to be in the "wheel" group.
# uncomment the following line
auth            required        pam_wheel.so use_uid
auth            substack        system-auth
auth            include         postlogin
account         sufficient      pam_succeed_if.so uid = 0 use_uid quiet
account         include         system-auth
password        include         system-auth
session         include         system-auth
session         include         postlogin
session         optional        pam_xauth.so

# verify settings with a user that is not in allowed group
[redhat@localhost ~]$ su -
Password:
su: Permission denied     # denied normally
# remove a user [fedora] (only removed user account)
[root@localhost ~]# userdel fedora
# remove a user [fedora] (removed user account and his home directory both)
[root@localhost ~]# userdel -r fedora
防火墙
配置防火墙和 SELinux。
[1] 可以看到如下所示的 FireWall 服务状态。(默认启用)
[root@localhost ~]# systemctl status firewalld
*  firewalld.service - firewalld - dynamic firewall daemon
     Loaded: loaded (/usr/lib/systemd/system/firewalld.service; enabled; vendor>
     Active: active (running) since Thu 2021-11-04 08:41:32 JST; 5min ago
       Docs: man:firewalld(1)
   Main PID: 762 (firewalld)
      Tasks: 2 (limit: 4647)
     Memory: 34.3M
        CPU: 388ms
     CGroup: /system.slice/firewalld.service
             +-- 762 /usr/bin/python3 -s /usr/sbin/firewalld --nofork --nopid

# [Active: active (running) ***] means firewalld is running now
[2]如果您使用 FireWall 服务,则需要手动修改 FireWall 设置,因为默认情况下大多数情况下不允许传入的服务请求。
请参阅此处了解基本的防火墙操作和设置(CentOS Stream 8)。
本站Fedora 35的配置示例是基于Firewalld服务始终开启的环境。
[3] 如果您因为某些原因(例如某些 FireWall Machines 正在您的本地网络或其他网络中运行)而不需要 FireWall 服务,则可以如下所示停止和禁用 Fedora 服务器上的 FireWall 服务。
# stop service
[root@localhost ~]# systemctl stop firewalld
# disable service
[root@localhost ~]# systemctl disable firewalld
Removed /etc/systemd/system/multi-user.target.wants/firewalld.service.
Removed /etc/systemd/system/dbus-org.fedoraproject.FirewallD1.service.
SELinux
[4] 可以显示当前 SELinux (Security-Enhanced Linux) 状态,如下所示。(默认启用)
[root@localhost ~]# getenforce
Enforcing     # SELinux is enabled
[5]如果启用 SELinux,有时需要手动修改 SELinux 策略,因为有时 SELinux 会停止应用程序。
有关基本 SELinux 操作和设置(CentOS Stream 8)的信息,请参阅此处。
本站 Fedora 35 的配置示例是基于 SELinux 始终 Enforcing 的环境。
[6] 如果您因为某些原因(例如您的服务器仅在本地安全网络或其他网络中运行)而不需要 SELinux 功能,则可以如下所示禁用 SELinux。
# disable SELinux
[root@localhost ~]# grubby --update-kernel ALL --args selinux=0
# restart computer to apply changes
[root@localhost ~]# reboot
# if falling back to enable, run like follows
[root@localhost ~]# grubby --update-kernel ALL --remove-args selinux
网络设置
[1] 为服务器设置静态 IP 地址。
(将接口名称 [enp1s0] 替换为您自己的名称,因为它在任何系统上都不相同)
# 如果你没有设置HostName,设置如下
[root@localhost ~]# hostnamectl set-hostname dlp.srv.world
# display devices
[root@localhost ~]# nmcli device
DEVICE  TYPE      STATE      CONNECTION
enp1s0  ethernet  connected  enp1s0
lo      loopback  unmanaged  --

# 设置 IPv4 地址
[root@localhost ~]# nmcli connection modify enp1s0 ipv4.addresses 10.0.0.30/24
# 设置网关
[root@localhost ~]# nmcli connection modify enp1s0 ipv4.gateway 10.0.0.1
# 设置DNS
# 如果设置多个 DNS,请以空格分隔 ⇒ ipv4.dns "10.0.0.10 10.0.0.11 10.0.0.12"
[root@localhost ~]# nmcli connection modify enp1s0 ipv4.dns 10.0.0.10
# 设置 DNS 搜索库(你的域名)
[root@localhost ~]# nmcli connection modify enp1s0 ipv4.dns-search srv.world
# 手动设置静态设置(它是 [auto] 用于 DHCP)
[root@localhost ~]# nmcli connection modify enp1s0 ipv4.method manual
# 重启界面重新加载设置
[root@localhost ~]# nmcli connection down enp1s0; nmcli connection up enp1s0
Connection 'enp1s0' successfully deactivated (D-Bus active path: /org/freedesktop/NetworkManager/ActiveConnection/1)
Connection successfully activated (D-Bus active path: /org/freedesktop/NetworkManager/ActiveConnection/2)

# 确认设置
[root@localhost ~]# nmcli device show enp1s0
GENERAL.DEVICE:                         enp1s0
GENERAL.TYPE:                           ethernet
GENERAL.HWADDR:                         52:54:00:D3:14:49
GENERAL.MTU:                            1500
GENERAL.STATE:                          100 (connected)
GENERAL.CONNECTION:                     enp1s0
GENERAL.CON-PATH:                       /org/freedesktop/NetworkManager/ActiveC>
WIRED-PROPERTIES.CARRIER:               on
IP4.ADDRESS[1]:                         10.0.0.30/24
IP4.GATEWAY:                            10.0.0.1
IP4.ROUTE[1]:                           dst = 10.0.0.0/24, nh = 0.0.0.0, mt = 1>
IP4.ROUTE[2]:                           dst = 0.0.0.0/0, nh = 10.0.0.1, mt = 100
IP4.DNS[1]:                             10.0.0.10
IP4.SEARCHES[1]:                        srv.world
IP6.ADDRESS[1]:                         fe80::5054:ff:fed3:1449/64
IP6.GATEWAY:                            --
IP6.ROUTE[1]:                           dst = fe80::/64, nh = ::, mt = 100

# 确认状态
[root@localhost ~]# ip address show
1: lo: <LOOPBACK,UP,LOWER_UP> mtu 65536 qdisc noqueue state UNKNOWN group default qlen 1000
    link/loopback 00:00:00:00:00:00 brd 00:00:00:00:00:00
    inet 127.0.0.1/8 scope host lo
       valid_lft forever preferred_lft forever
    inet6 ::1/128 scope host
       valid_lft forever preferred_lft forever
2: enp1s0: <BROADCAST,MULTICAST,UP,LOWER_UP> mtu 1500 qdisc fq_codel state UP group default qlen 1000
    link/ether 52:54:00:d3:14:49 brd ff:ff:ff:ff:ff:ff
    inet 10.0.0.30/24 brd 10.0.0.255 scope global noprefixroute enp1s0
       valid_lft forever preferred_lft forever
    inet6 fe80::5054:ff:fed3:1449/64 scope link noprefixroute
       valid_lft forever preferred_lft forever
配置服务
要启用或禁用服务,请进行如下配置。
[1] 显示服务列表。
# 现在处于活动状态的服务列表
# 添加 [--all],显示所有包含的非活动服务
# 添加 [--no-pager],不要使用像 [less/more] 这样的寻呼机
[root@dlp ~]# systemctl -t service
  UNIT                               LOAD   ACTIVE SUB     DESCRIPTION         >
  abrt-journal-core.service          loaded active running Creates ABRT problem>
  abrt-oops.service                  loaded active running ABRT kernel log watc>
  abrt-xorg.service                  loaded active running ABRT Xorg log watche>
  abrtd.service                      loaded active running ABRT Automated Bug R>
  atd.service                        loaded active running Deferred execution s>

.....
.....

  systemd-zram-setup@zram0.service   loaded active exited  Create swap on /dev/>
  user-runtime-dir@0.service         loaded active exited  User Runtime Directo>
  user@0.service                     loaded active running User Manager for UID>

LOAD   = Reflects whether the unit definition was properly loaded.
ACTIVE = The high-level unit activation state, i.e. generalization of SUB.
SUB    = The low-level unit activation state, values depend on unit type.
54 loaded units listed. Pass --all to see loaded but inactive units, too.
To show all installed unit files use 'systemctl list-unit-files'.

# 所有服务的列表
[root@dlp ~]# systemctl list-unit-files -t service
UNIT FILE                                  STATE           VENDOR PRESET
abrt-journal-core.service                  enabled         enabled
abrt-oops.service                          enabled         enabled
abrt-pstoreoops.service                    disabled        disabled
abrt-vmcore.service                        enabled         enabled
abrt-xorg.service                          enabled         enabled
abrtd.service                              enabled         enabled
arp-ethers.service                         disabled        disabled
atd.service                                enabled         enabled
auditd.service                             enabled         enabled

.....
.....

udisks2.service                            enabled         enabled
usb_modeswitch@.service                    static          -
user-runtime-dir@.service                  static          -
user@.service                              static          -
wpa_supplicant.service                     disabled        disabled

219 unit files listed.
[2] 如果您不需要,请停止并关闭服务的自动启动设置。
下面的例子意味着停止和禁用 smartd 服务。
[root@dlp ~]#systemctl disable --now smartd
更新系统
Fedora Server 成为生产系统后,可能很难更新系统,但至少在安装后,将 Fedora Server 更新到最新。
[1] 更新系统如下
[root@dlp ~]# dnf -y upgrade
Dependencies resolved.
================================================================================
 Package                       Arch    Version                   Repo      Size
================================================================================
Installing:
 kernel                        x86_64  5.14.14-300.fc35          updates   65 k
Upgrading:
 NetworkManager                x86_64  1:1.32.12-2.fc35          updates  2.3 M
 NetworkManager-bluetooth      x86_64  1:1.32.12-2.fc35          updates   52 k
 NetworkManager-libnm          x86_64  1:1.32.12-2.fc35          updates  1.7 M
 NetworkManager-team           x86_64  1:1.32.12-2.fc35          updates   30 k
 NetworkManager-wifi           x86_64  1:1.32.12-2.fc35          updates  116 k
 NetworkManager-wwan           x86_64  1:1.32.12-2.fc35          updates   58 k
 alsa-sof-firmware             noarch  1.9-1.fc35                updates  580 k
 bc                            x86_64  1.07.1-14.fc35            updates  118 k
 bluez                         x86_64  5.62-1.fc35               updates  973 k
 bluez-libs                    x86_64  5.62-1.fc35               updates   84 k
 btrfs-progs                   x86_64  5.14.2-1.fc35             updates  962 k
 checkpolicy                   x86_64  3.3-1.fc35                updates  338 k
 cockpit                       x86_64  256-1.fc35                updates   44 k
 cockpit-bridge                x86_64  256-1.fc35                updates  490 k
 cockpit-networkmanager        noarch  256-1.fc35                updates  523 k
 cockpit-packagekit            noarch  256-1.fc35                updates  572 k
 cockpit-selinux               noarch  256-1.fc35                updates  226 k
 cockpit-storaged              noarch  256-1.fc35                updates  584 k
 cockpit-system                noarch  256-1.fc35                updates  2.4 M
 cockpit-ws                    x86_64  256-1.fc35                updates  1.3 M
 curl                          x86_64  7.79.1-1.fc35             updates  310 k
 dnf-plugins-core              noarch  4.0.24-1.fc35             updates   35 k
 dnsmasq                       x86_64  2.86-3.fc35               updates  333 k
 dracut                        x86_64  055-6.fc35                updates  347 k
 dracut-config-rescue          x86_64  055-6.fc35                updates   12 k
 dracut-network                x86_64  055-6.fc35                updates   61 k
 dracut-squash                 x86_64  055-6.fc35                updates   12 k
 fedora-logos                  noarch  35.0.0-2.fc35             updates  1.3 M
 gdb-headless                  x86_64  11.1-2.fc35               updates  4.3 M
 gdbm-libs                     x86_64  1:1.22-1.fc35             updates   58 k
 gnupg2                        x86_64  2.3.3-1.fc35              updates  2.5 M
 hwdata                        noarch  0.352-1.fc35              updates  1.5 M
 iwl100-firmware               noarch  39.31.5.1-126.fc35        updates  134 k

.....
.....

Installed:
  python3-tracer-0.7.6-1.fc34.noarch
  reportd-0.7.4-4.fc34.x86_64
  sscg-2.6.2-5.fc34.x86_64
  tpm2-tools-5.0-2.fc34.x86_64
  tracer-common-0.7.6-1.fc34.noarch
  whois-nls-5.5.9-1.fc34.noarch

Complete!
使用 Moduler 存储库
[1] 显示可用模块
[root@dlp ~]# dnf module list
Fedora Modular 34 - x86_64
Name               Stream           Profiles Summary
avocado            latest           default [d], minimal  Framework with tools and libraries for Automated Testing
avocado            82lts            default,minimal Framework with tools and libraries for Automated Testing
avocado-vt         latest           default  Avocado Virt Test Plugin
avocado-vt         82lts            default  Avocado Virt Test Plugin
cri-o              nightly          default  Kubernetes Container Runtime Interface for OCI-based containers

.....
.....

varnish            6.0              default  Varnish HTTP cache

Hint: [d]efault, [e]nabled, [x]disabled, [i]nstalled
[2] 为了安装可用的模块,配置如下
# 例如,显示 [Node.js] 模块
[root@dlp ~]# dnf module list nodejs
Fedora Modular 35 - x86_64
Name       Stream     Profiles                             Summary
nodejs     12         default [d], development, minimal    Javascript runtime
nodejs     14         default, development, minimal        Javascript runtime
nodejs     15         default, development, minimal        Javascript runtime
nodejs     16         default, development, minimal        Javascript runtime

Fedora Modular 35 - x86_64 - Updates
Name       Stream     Profiles                             Summary
nodejs     12         default [d], development, minimal    Javascript runtime
nodejs     14         default, development, minimal        Javascript runtime
nodejs     15         default, development, minimal        Javascript runtime
nodejs     16         default, development, minimal        Javascript runtime

Hint: [d]efault, [e]nabled, [x]disabled, [i]nstalled

# 例如,安装 Node.js 12
[root@dlp ~]# dnf module -y install nodejs:12
Dependencies resolved.
==================================================================================================
 Package            Arch    Version                                         Repository        Size
==================================================================================================
Installing group/module packages:
 nodejs             x86_64  1:12.22.7-1.module_f35+13211+80e67b81           updates-modular   94 k
 npm                x86_64  1:6.14.15-1.12.22.7.1.module_f35+13211+80e67b81 updates-modular  3.3 M
Installing dependencies:
 nodejs-libs        x86_64  1:12.22.7-1.module_f35+13211+80e67b81           updates-modular   12 M
Installing weak dependencies:
 nodejs-docs        noarch  1:12.22.7-1.module_f35+13211+80e67b81           updates-modular  3.0 M
 nodejs-full-i18n   x86_64  1:12.22.7-1.module_f35+13211+80e67b81           updates-modular  7.7 M
Installing module profiles:
 nodejs/default
Enabling module streams:
 nodejs                     12

Transaction Summary
==================================================================================================
Install  5 Packages
.....
.....

# [Node.js 12] 的状态变为 [e]nabled 和 [i]nstalled
[root@dlp ~]# dnf module list nodejs
Fedora Modular 35 - x86_64
Name      Stream    Profiles                                Summary
nodejs    12 [e]    default [d] [i], development, minimal   Javascript runtime
nodejs    14        default, development, minimal           Javascript runtime
nodejs    15        default, development, minimal           Javascript runtime
nodejs    16        default, development, minimal           Javascript runtime

Fedora Modular 35 - x86_64 - Updates
Name      Stream    Profiles                                Summary
nodejs    12 [e]    default [d] [i], development, minimal   Javascript runtime
nodejs    14        default, development, minimal           Javascript runtime
nodejs    15        default, development, minimal           Javascript runtime
nodejs    16        default, development, minimal           Javascript runtime

Hint: [d]efault, [e]nabled, [x]disabled, [i]nstalled

[root@dlp ~]# node -v
v12.22.7
# 如果要切换到其他版本,请先重置
[root@dlp ~]# dnf module reset nodejs
# 启用并安装 [Node.js 16]
[root@dlp ~]# dnf module enable nodejs:16
[root@dlp ~]# dnf module -y install nodejs:16/default
# [Node.js 16] 的状态变为 [e]nabled
[root@dlp ~]# dnf module list nodejs
Fedora Modular 35 - x86_64
Name       Stream     Profiles                             Summary
nodejs     12         default [d], development, minimal    Javascript runtime
nodejs     14         default, development, minimal        Javascript runtime
nodejs     15         default, development, minimal        Javascript runtime
nodejs     16 [e]     default [i], development, minimal    Javascript runtime

Fedora Modular 35 - x86_64 - Updates
Name       Stream     Profiles                             Summary
nodejs     12         default [d], development, minimal    Javascript runtime
nodejs     14         default, development, minimal        Javascript runtime
nodejs     15         default, development, minimal        Javascript runtime
nodejs     16 [e]     default [i], development, minimal    Javascript runtime

Hint: [d]efault, [e]nabled, [x]disabled, [i]nstalled

[root@dlp ~]# node -v
v16.11.1
使用 web 管理控制台
如果您安装了 [Fedora Server] 组,Cockpit Admin Console 会默认安装并启动。
可以在 Web 浏览器上的这个管理控制台上管理您的 Fedora 服务器。
如果您想从远程计算机访问 Cockpit,并且 Firewalld 正在您的 Fedora 服务器上运行,它需要允许服务 [cockpit] 或允许端口 [9090]。(但默认情况下允许它们)
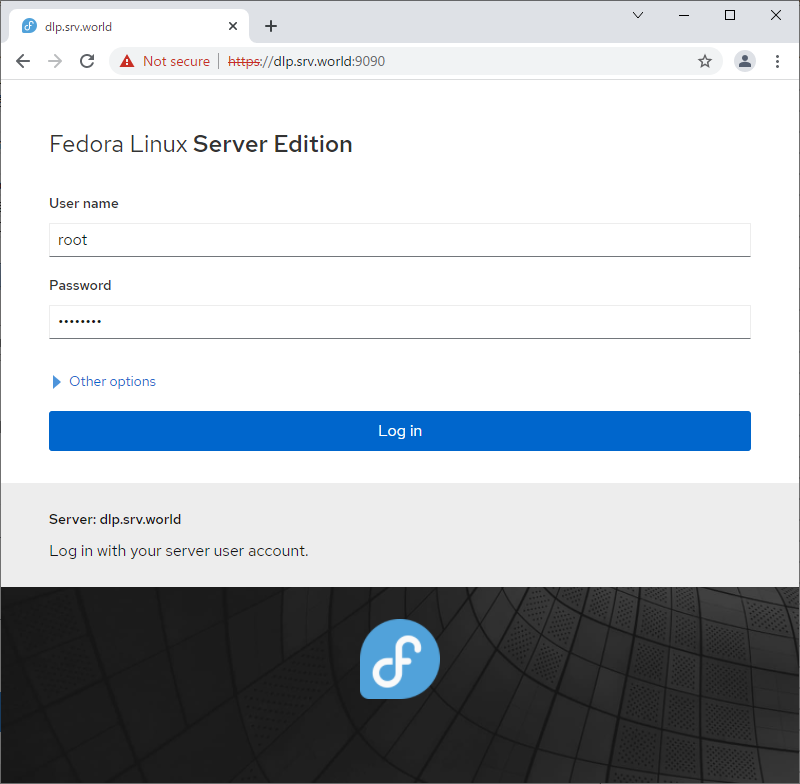
| [1] |
从 localhost 或客户端计算机使用 Web 浏览器访问 [https://(服务器的主机名或 IP 地址):9090/],然后显示 Cockpit 登录表单如下所示。使用用户登录。此示例使用 root 用户显示,如下所示。 |
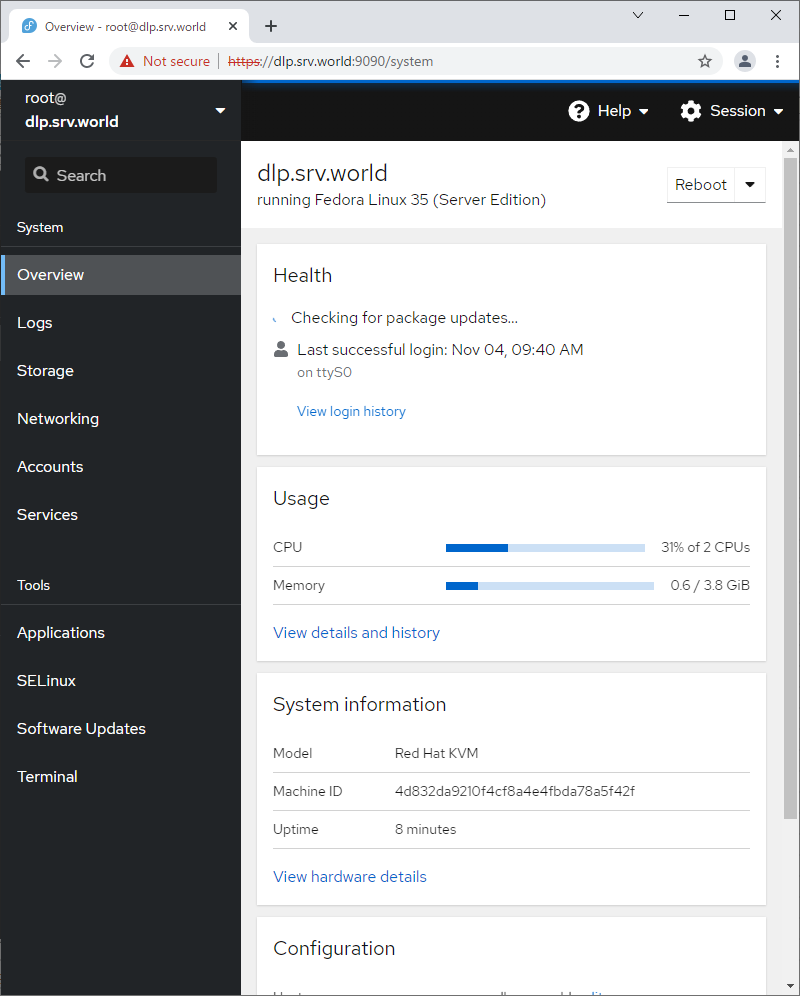
| [2] |
这是驾驶舱索引页面。可以在这里管理各种系统设置。 |
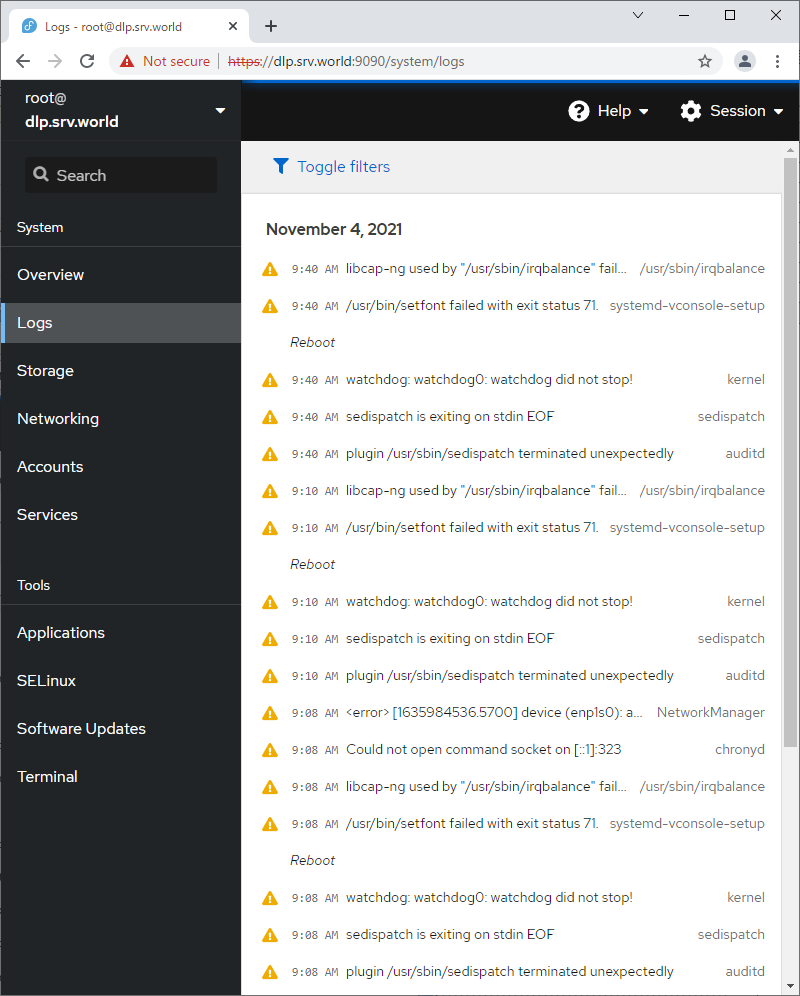
| [3] |
对于左侧窗格中的[日志],可以管理或操作作为日志管理工具的[日志]服务。 |
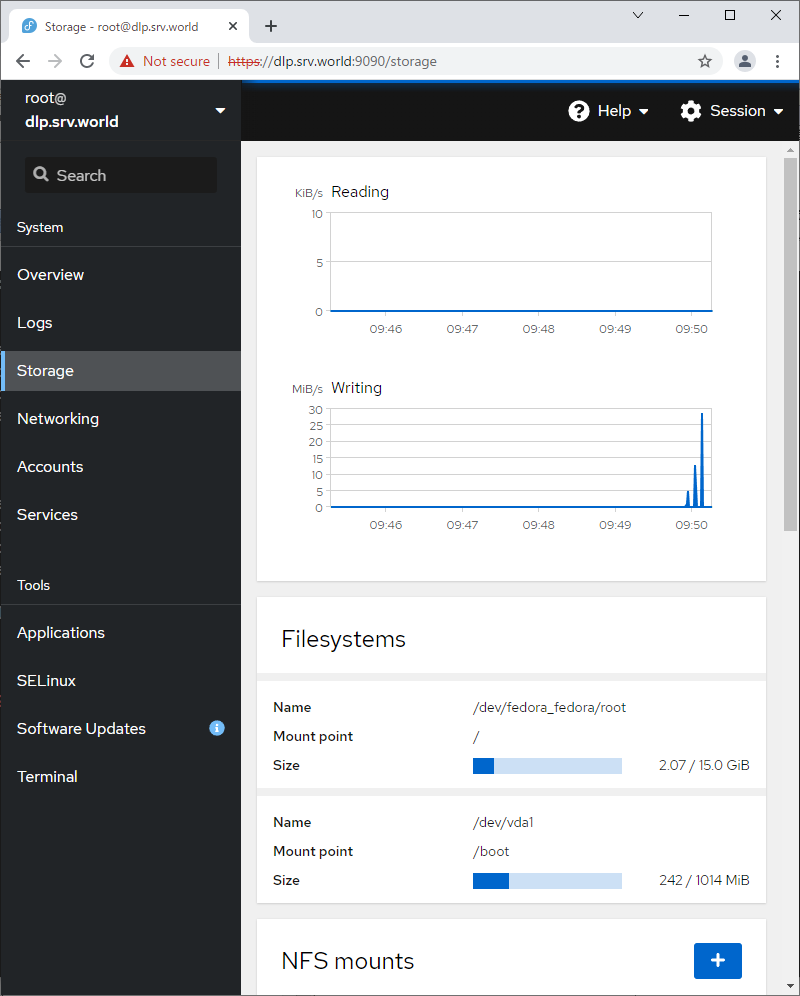
| [4] |
左侧窗格中的[Storage],可以管理或操作Storage。 |
| [5] |
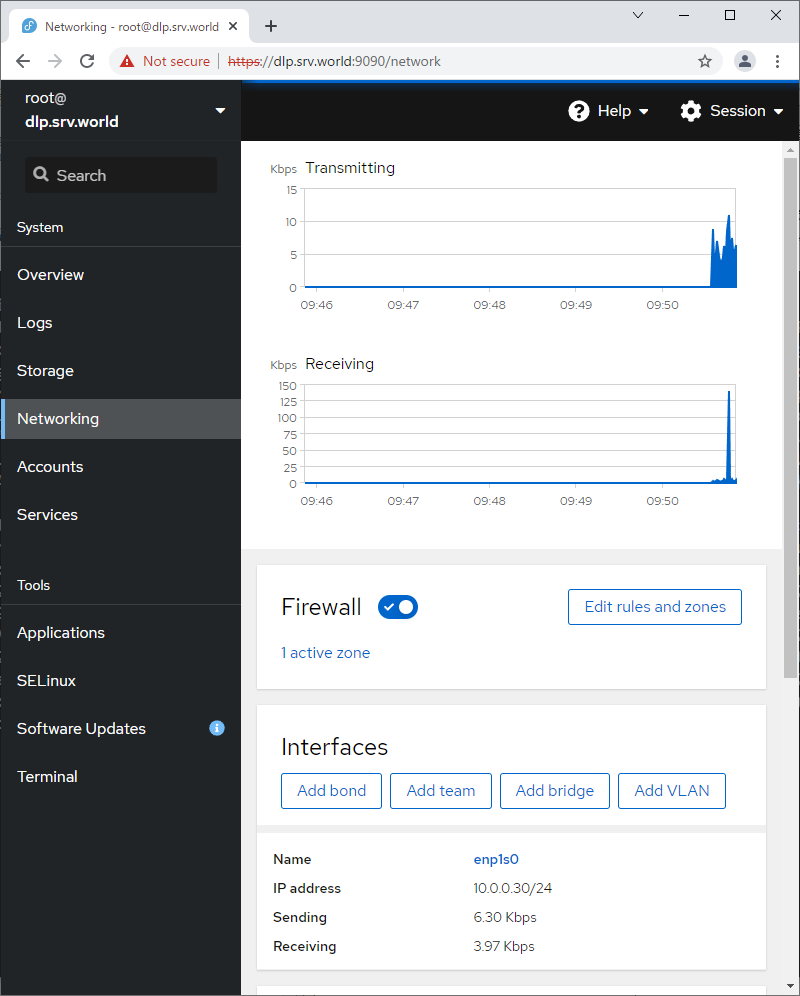
对于左侧窗格中的[网络],可以管理或操作网络设置。 |
| [6] |
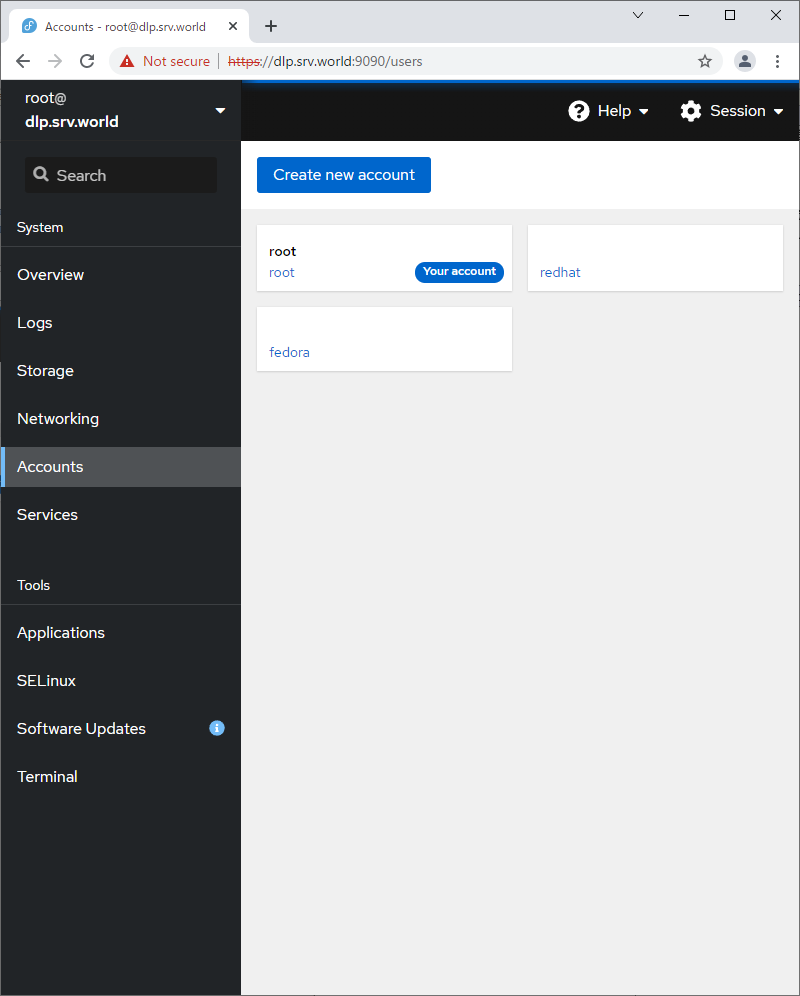
在左侧窗格中的[Accounts],可以管理或操作系统帐户。 |
| [7] |
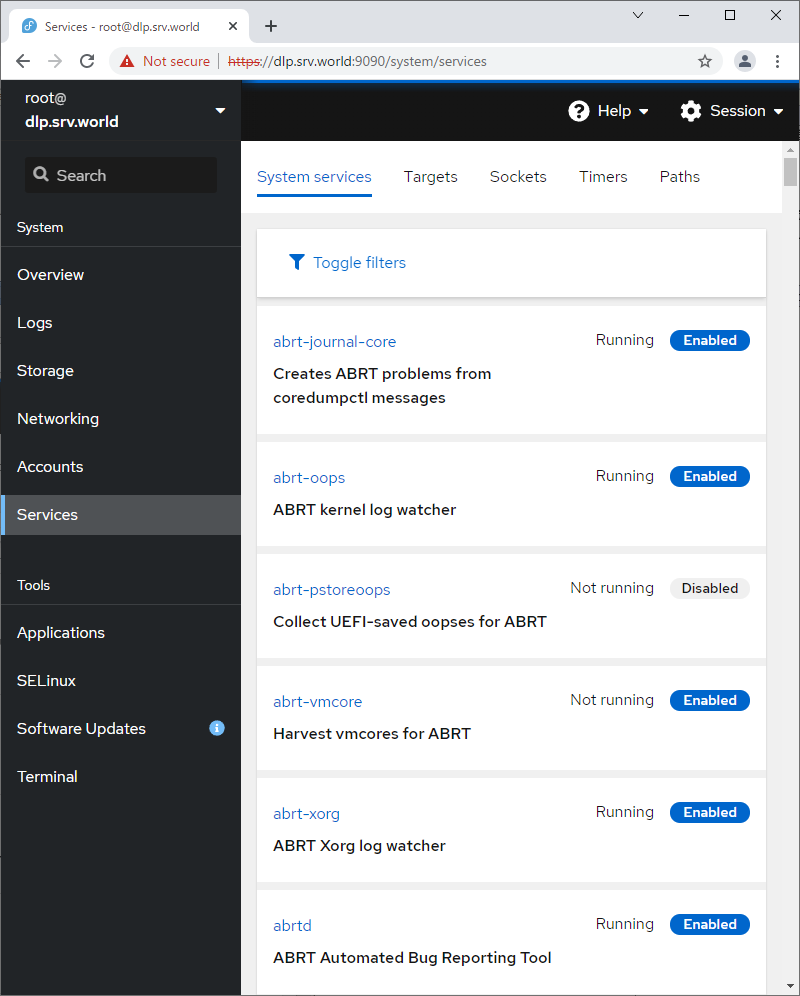
左侧窗格中的[服务],可以管理或操作系统服务。 |
| [8] |
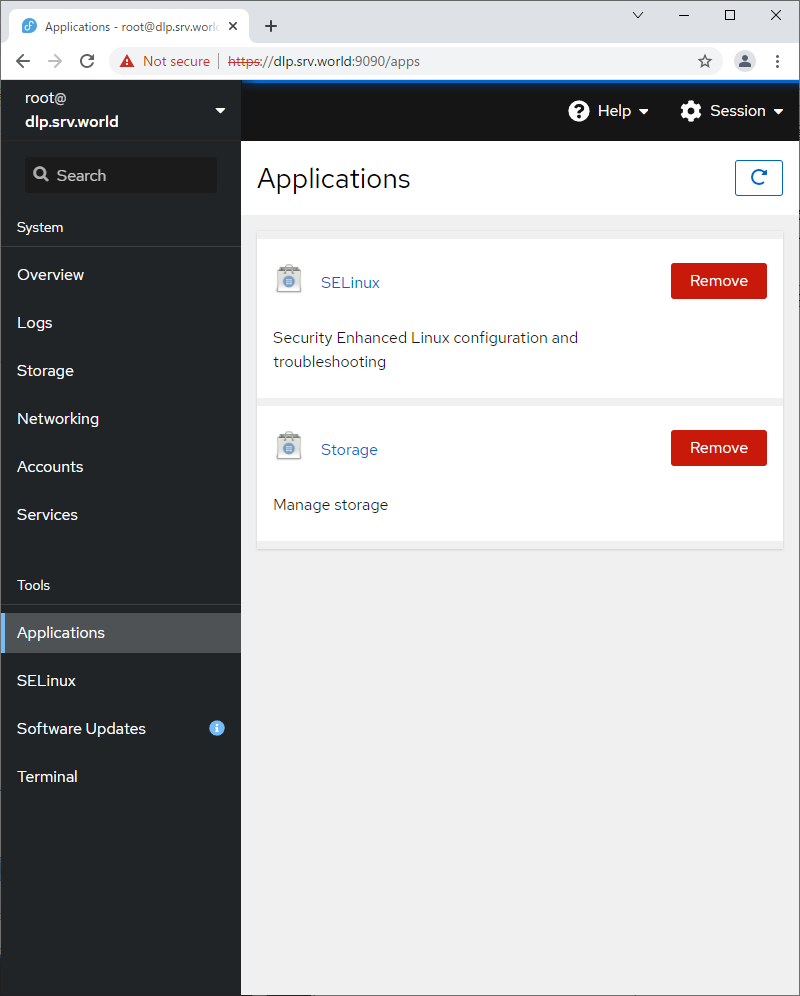
对于左侧窗格中的 [应用程序],可以安装或删除应用程序。 |
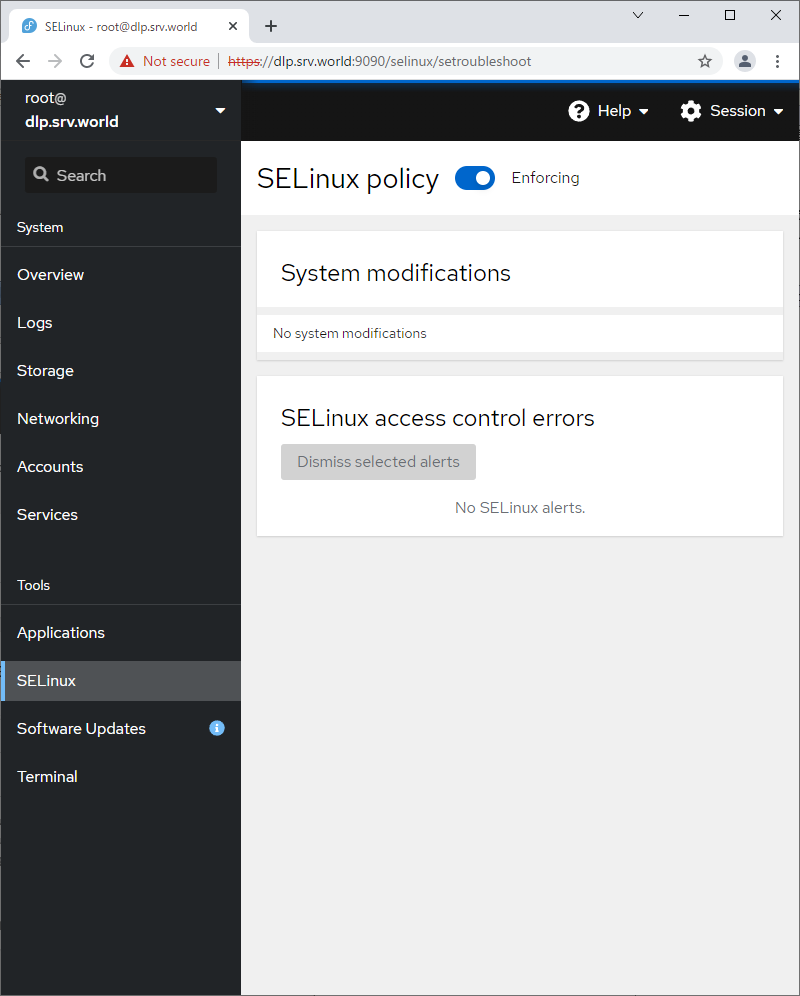
| [9] |
对于左侧窗格中的 [SELinux],可以查看 SELinux 警报日志。(基于 SELinux 启用状态) |
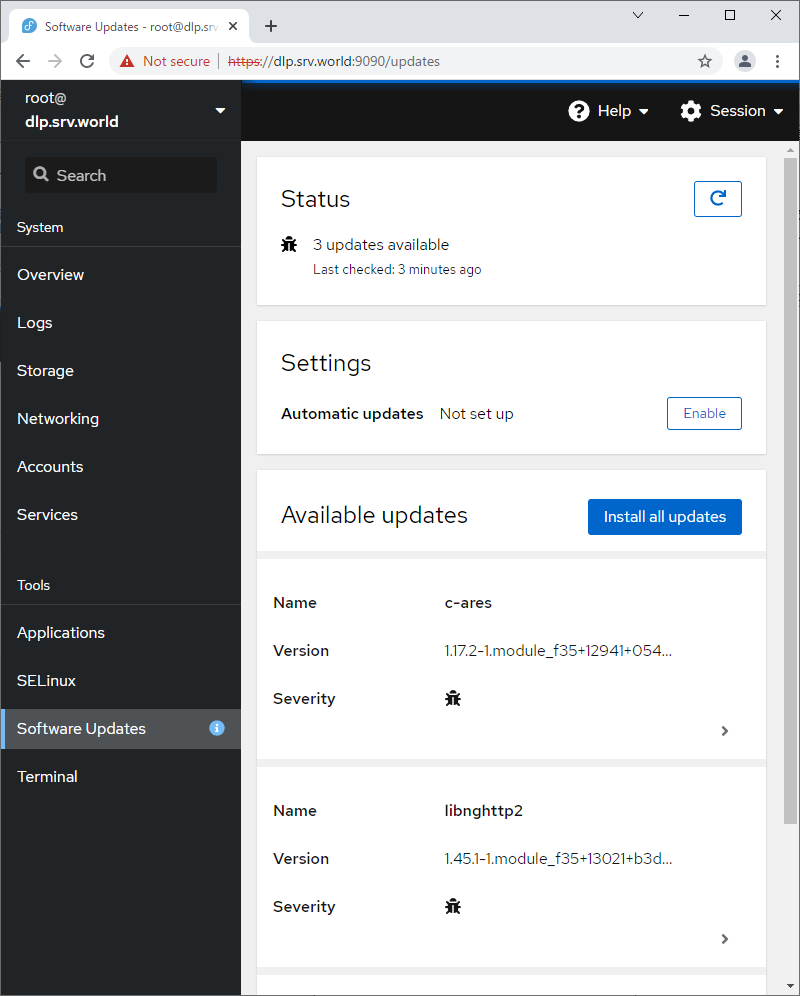
| [10] |
对于左侧窗格中的 [软件更新],可以确认更新或运行更新包。 |
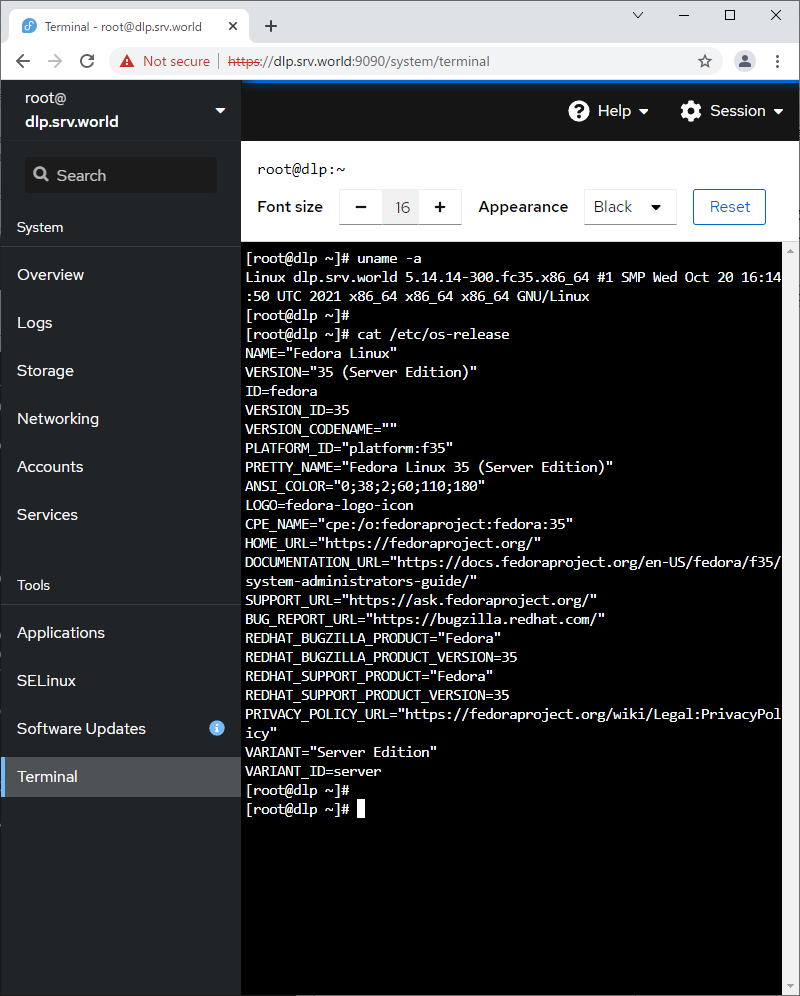
| [11] |
对于左侧窗格中的[终端],可以直接使用命令操作系统。 |