要在 Fedora Server 上添加用户帐户,请进行如下配置。 | |
| \[1\] | 例如,添加 \[fedora\] 用户。 |
| \[2\] | 如果您想从上面添加的用户切换到 root 帐户,请使用 \[su\] 命令执行此操作。 |
| \[3\] | 如果你想限制用户运行 \[su\] 命令,配置如下。 在下面的示例中,只有 \[wheel\] 组中的用户可以运行 \[su\] 命令。 |
| \[4\] | 如果您想删除用户帐户,请按如下方式设置。 |
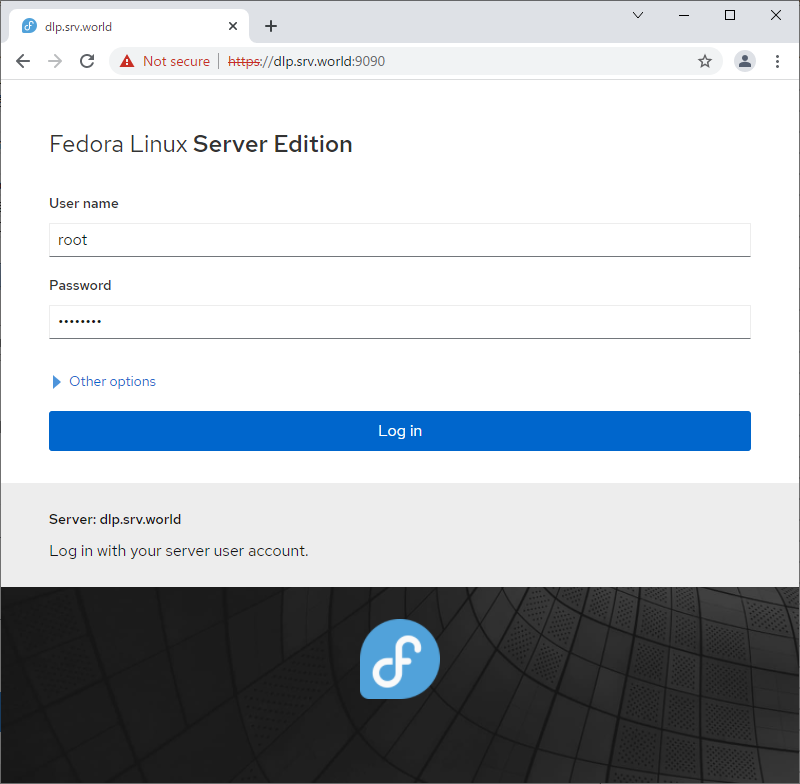
| \[1\] | 从 localhost 或客户端计算机使用 Web 浏览器访问 \[https://(服务器的主机名或 IP 地址):9090/\],然后显示 Cockpit 登录表单如下所示。使用用户登录。此示例使用 root 用户显示,如下所示。 |
|  |
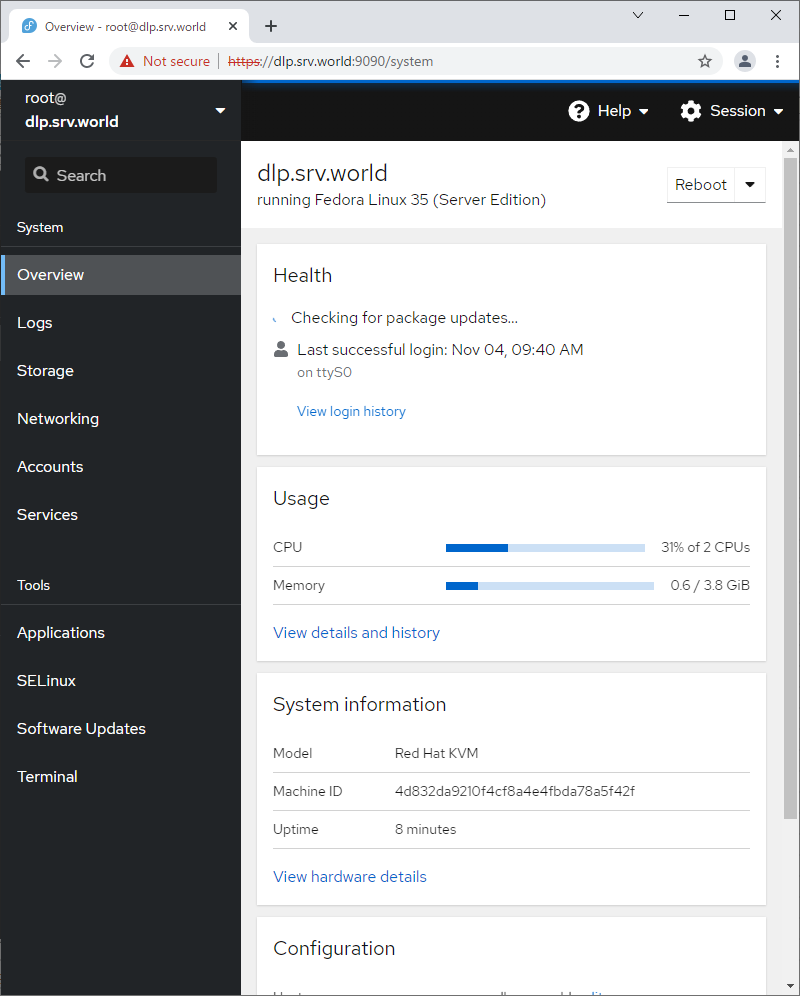
| \[2\] | 这是驾驶舱索引页面。可以在这里管理各种系统设置。 |
|  |
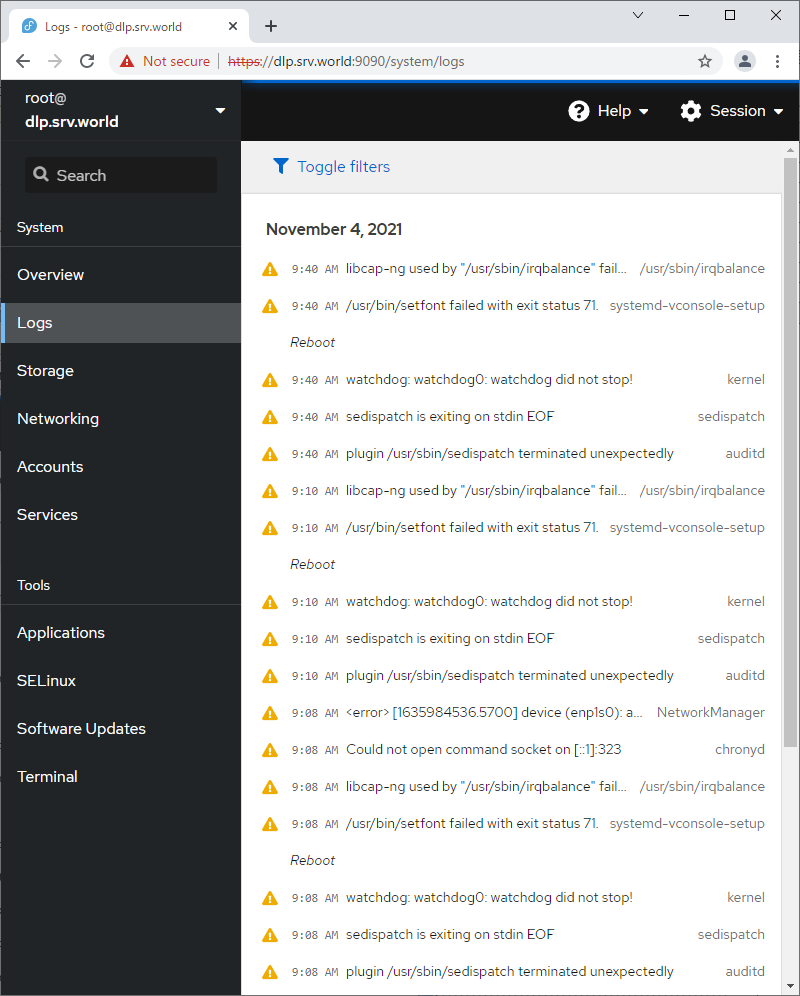
| \[3\] | 对于左侧窗格中的\[日志\],可以管理或操作作为日志管理工具的\[日志\]服务。 |
|  |
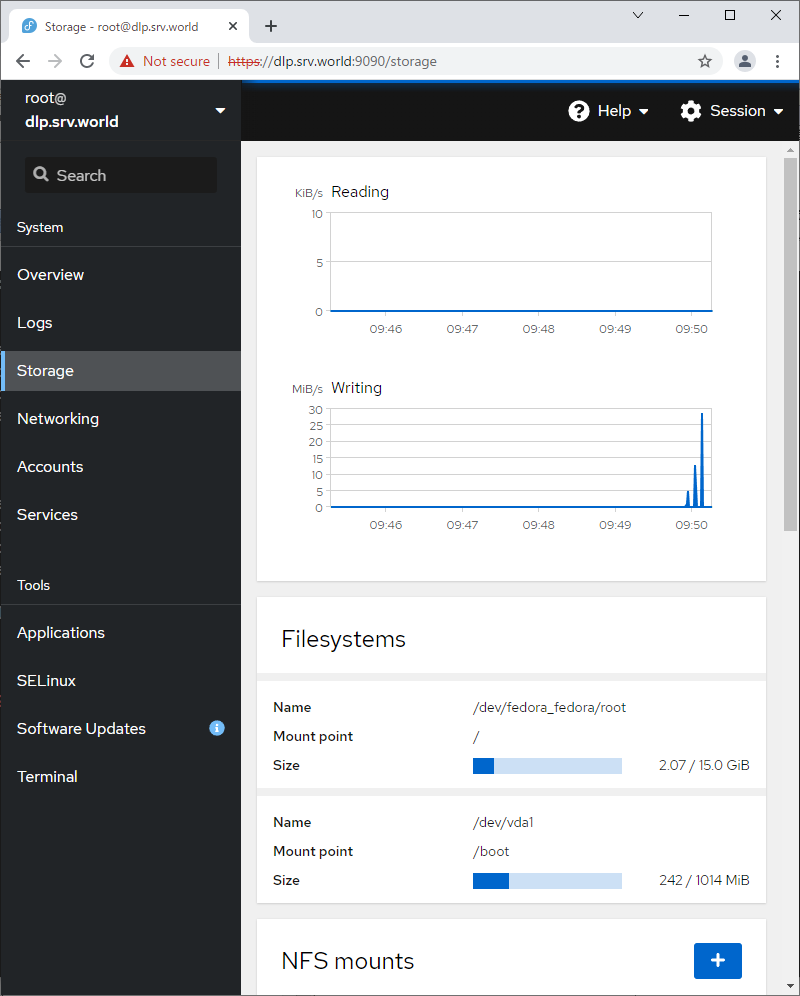
| \[4\] | 左侧窗格中的\[Storage\],可以管理或操作Storage。 |
|  |
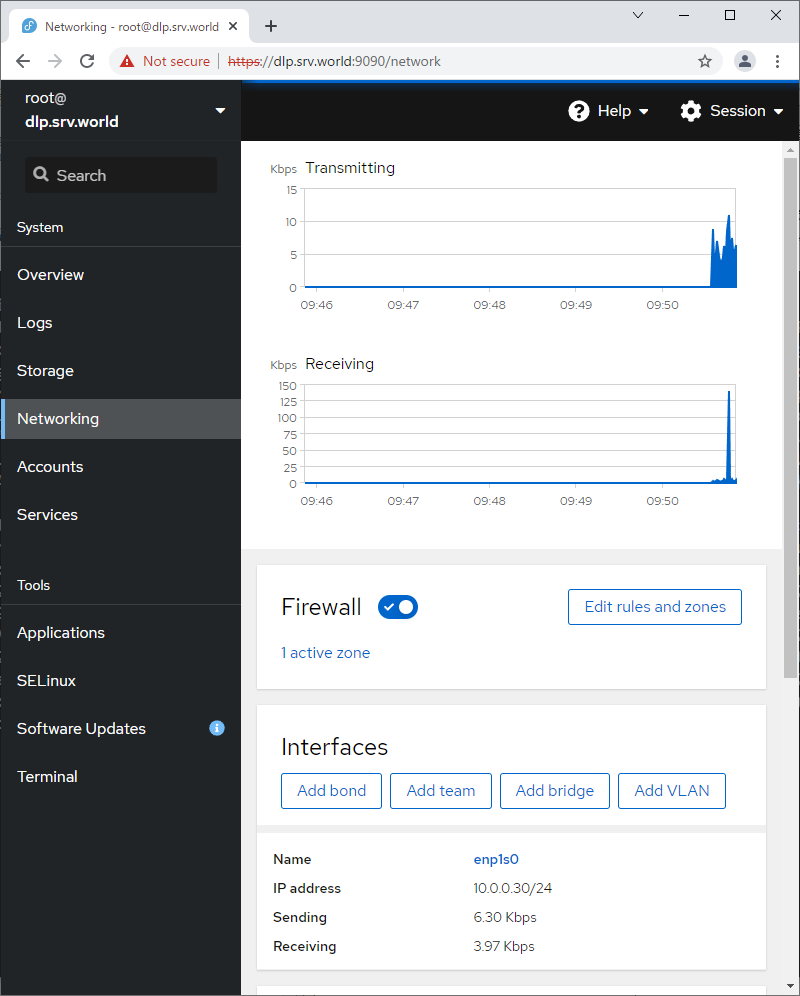
| \[5\] | 对于左侧窗格中的\[网络\],可以管理或操作网络设置。 |
|  |
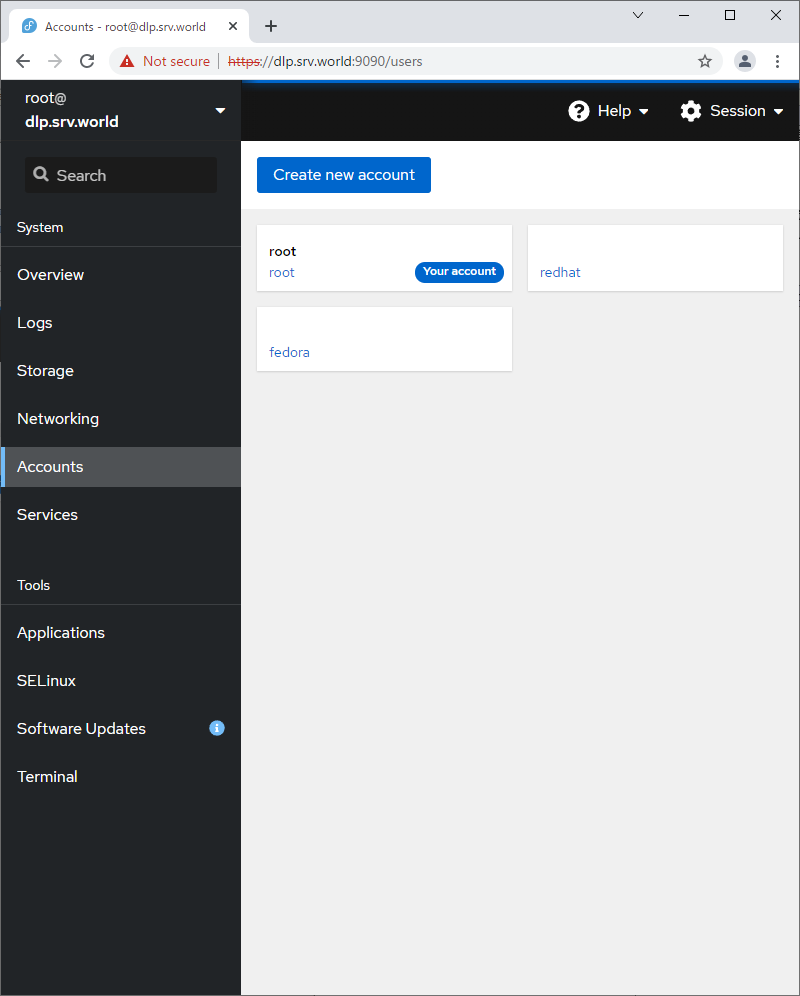
| \[6\] | 在左侧窗格中的\[Accounts\],可以管理或操作系统帐户。 |
|  |
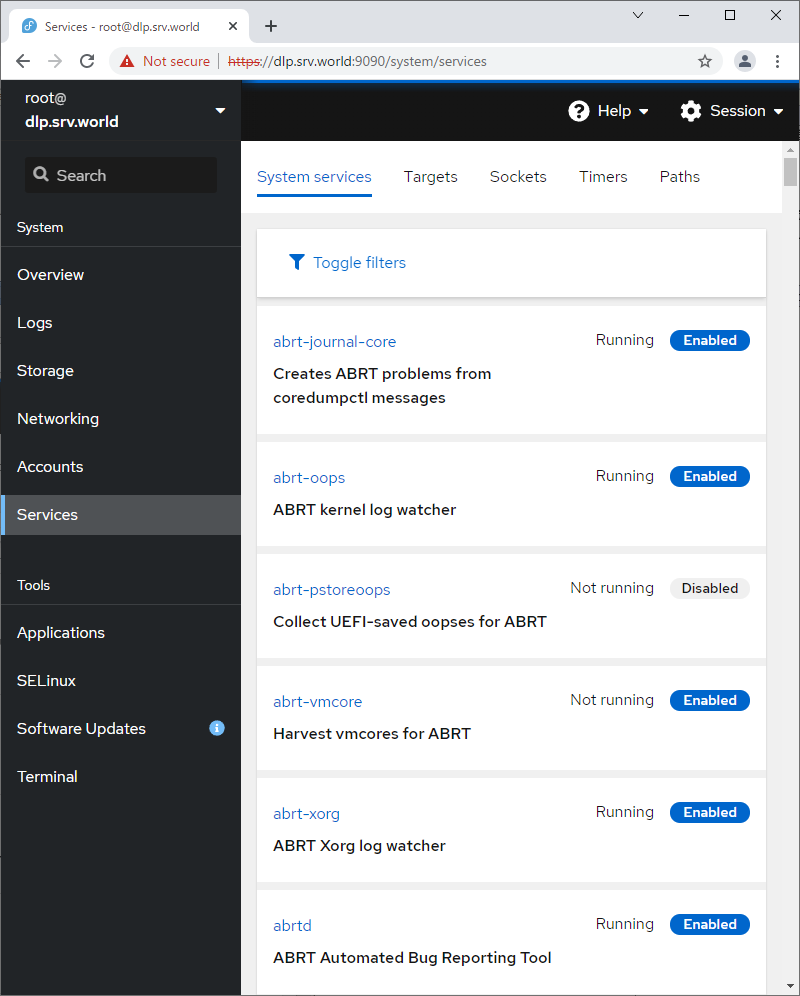
| \[7\] | 左侧窗格中的\[服务\],可以管理或操作系统服务。 |
|  |
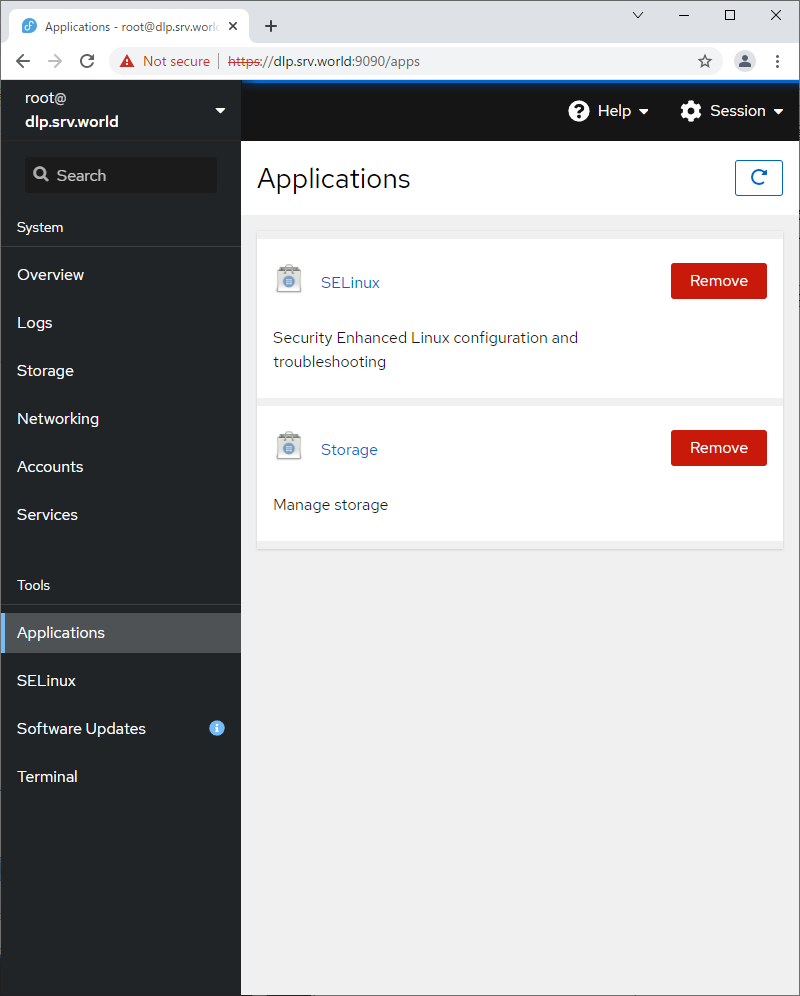
| \[8\] | 对于左侧窗格中的 \[应用程序\],可以安装或删除应用程序。 |
|  |
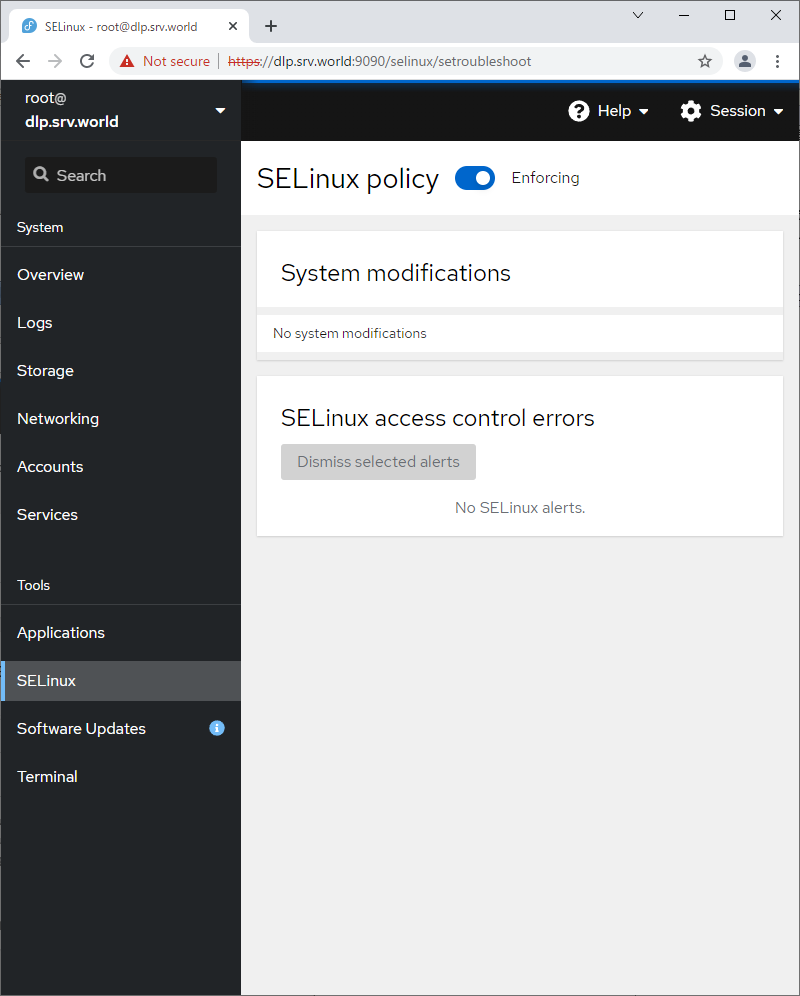
| \[9\] | 对于左侧窗格中的 \[SELinux\],可以查看 SELinux 警报日志。(基于 SELinux 启用状态) |
|  |
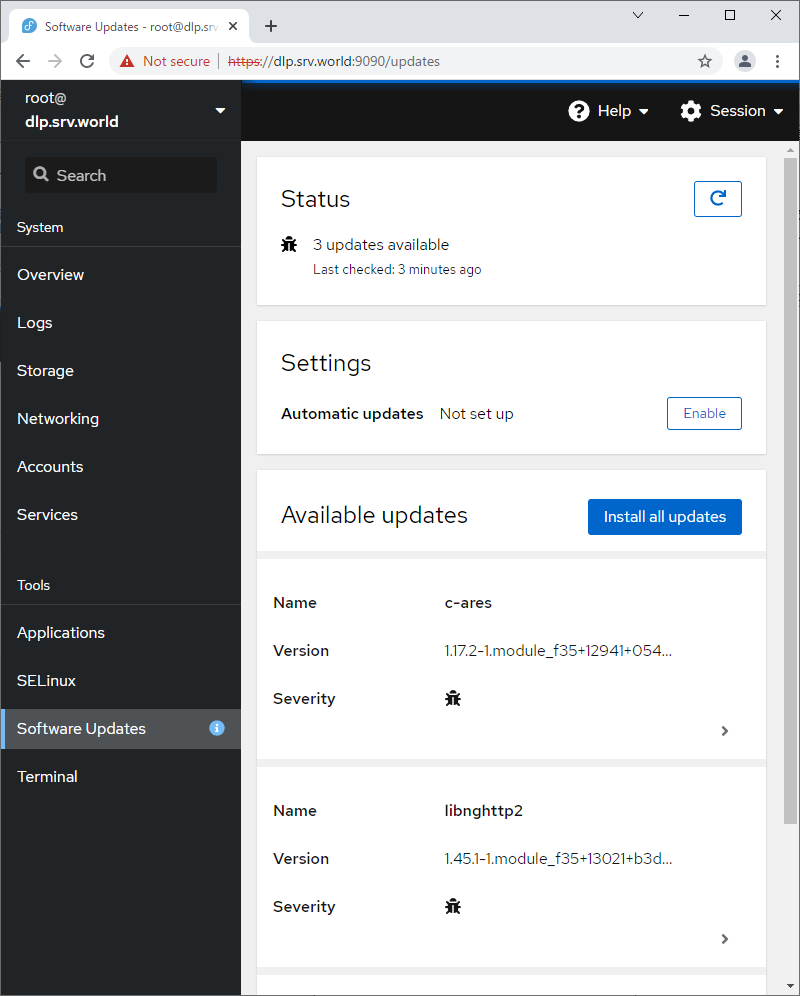
| \[10\] | 对于左侧窗格中的 \[软件更新\],可以确认更新或运行更新包。 |
|  |
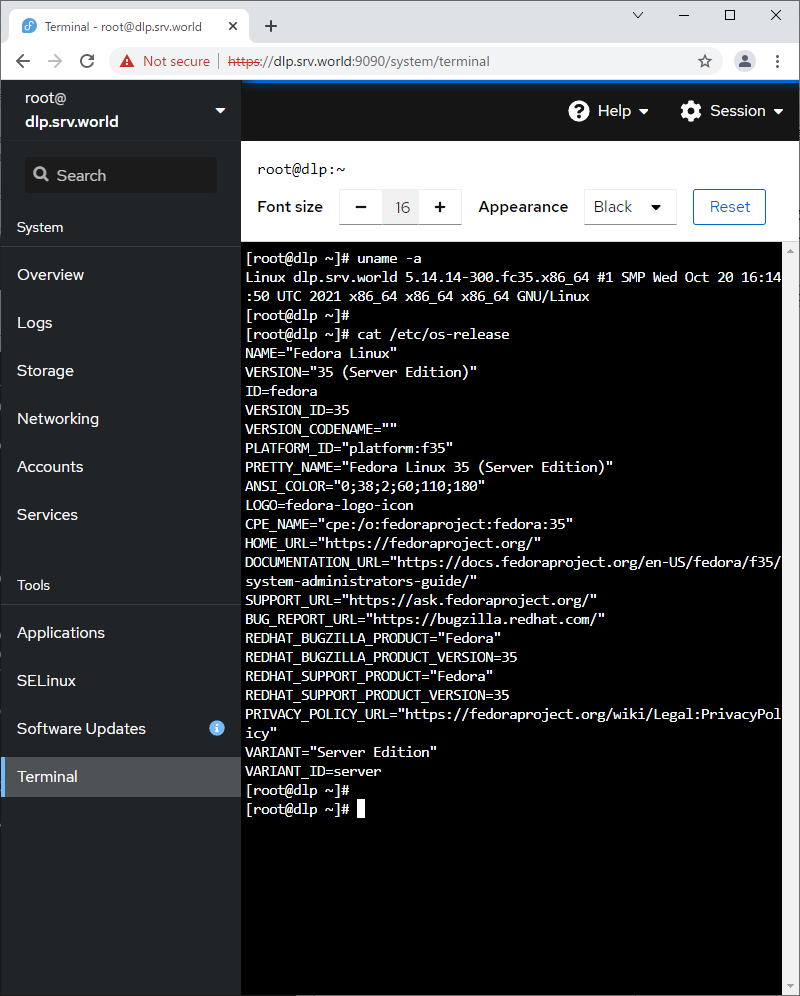
| \[11\] | 对于左侧窗格中的\[终端\],可以直接使用命令操作系统。 |
|  |